Saturday, September 17, 2011

Another Compass Fob

This one is different from the other two types I have made. I wanted it to show more of the compass than the 5 bight versions. This one uses 6. It's no mystery that I love the Matthew Walker Knot and this one has two. I found the middle of 3 strands that were 4 feet long and tied the MWK. Then I had 6 strands to use and made 3 over 2 crowns. Then I let the ends hang down and tied a wall knot. From the wall I went over 2 and under 1 back towards the over 2 crown. Looks like a kellem grip to me except the kellems we use at work are over 1 under 1. I put in the compass and tightened. Next I tied the final 6 strand MWK and tightened the "kellem" some more. Trimmed it all up then put it under a cold tap. Once dry it helped tighten everything up, if you get paracord wet it shrinks.


Friday, September 9, 2011

How To Make A Key Fob


Today we are going to learn how to make this key fob. If you are looking for something to make for your dad then this is a good choice, unless your dad is like my children's dad, he can just do it himself. I would consider this an intermediate level because of some of the techniques, the number of strands and knots used. Of course you can reduce the number of strands, or use different knots. I've made these with 3, 4, 5 and 6 strands. Let's get started!

Tools are important and using a tool will make things easier. Some of my tools are store bought and some I had to make because I couldn't find where to buy them at home. You will see in this next image the tools that I found useful to make this key fob. I didn't always have these simple tools so you should be fine if you don't have them. You could improvise and use a nail that you have DE-burred for the fid or maybe use a knitting spike. At minimum you will need a lighter and a very sharp knife.


Take your paracord and cut it into three pieces. One piece two foot long and two pieces four foot long. If you do yours exactly like mine then you should have five pieces around ten inches long as scrap when this project is complete. Middle the two longer strands and arrange all of them as an X with the short strand in the middle. Tie a constrictor knot around them.


And right away you can start deviating from my plan. I usually don't tie the constrictor knot and just arrange them in my hand but this worked out good for me and it allowed me to show you how to lay your cords.

Tie a Full Matthew Walker knot. This knot seems complicated but the base is the easiest knot of all, the simple thumb or overhand knot. You tie one thumb knot around all of the strands with one strand then in turn use the next strand to tie a thumb knot passing the end through the middle of the first knot. The next strand does the same and goes through all of the other knots and so on. In turn means you're going to start with the outer loop strand then do a inner loop strand all the way around. The short strand has to be added in there somewhere but doesn't matter where. If you reduced this to four strands then just do outer inner outer inner. You must carefully and slowly tighten this knot. One strand pulled slightly tight then the next constantly pushing the strands into place. Once you have it firm but not tight you will need to remove the constrictor knot and adjust the short strand, the middle strands and then finally the outer strand to proper length.


Take the short strand and tug it watching the other end of the knot. It should show you where you need to pull so you can shorten it up. We are going to pull it right to the edge of going in the MWK. Pull too far and you pull it out and now work with a four strand  MWK.


Now do the inner loop the same way. I like to do one side half way then the other side but do what you want. This should cover up the short strand. And finally adjust the outer loop to the final length and tighten the whole knot very tight.


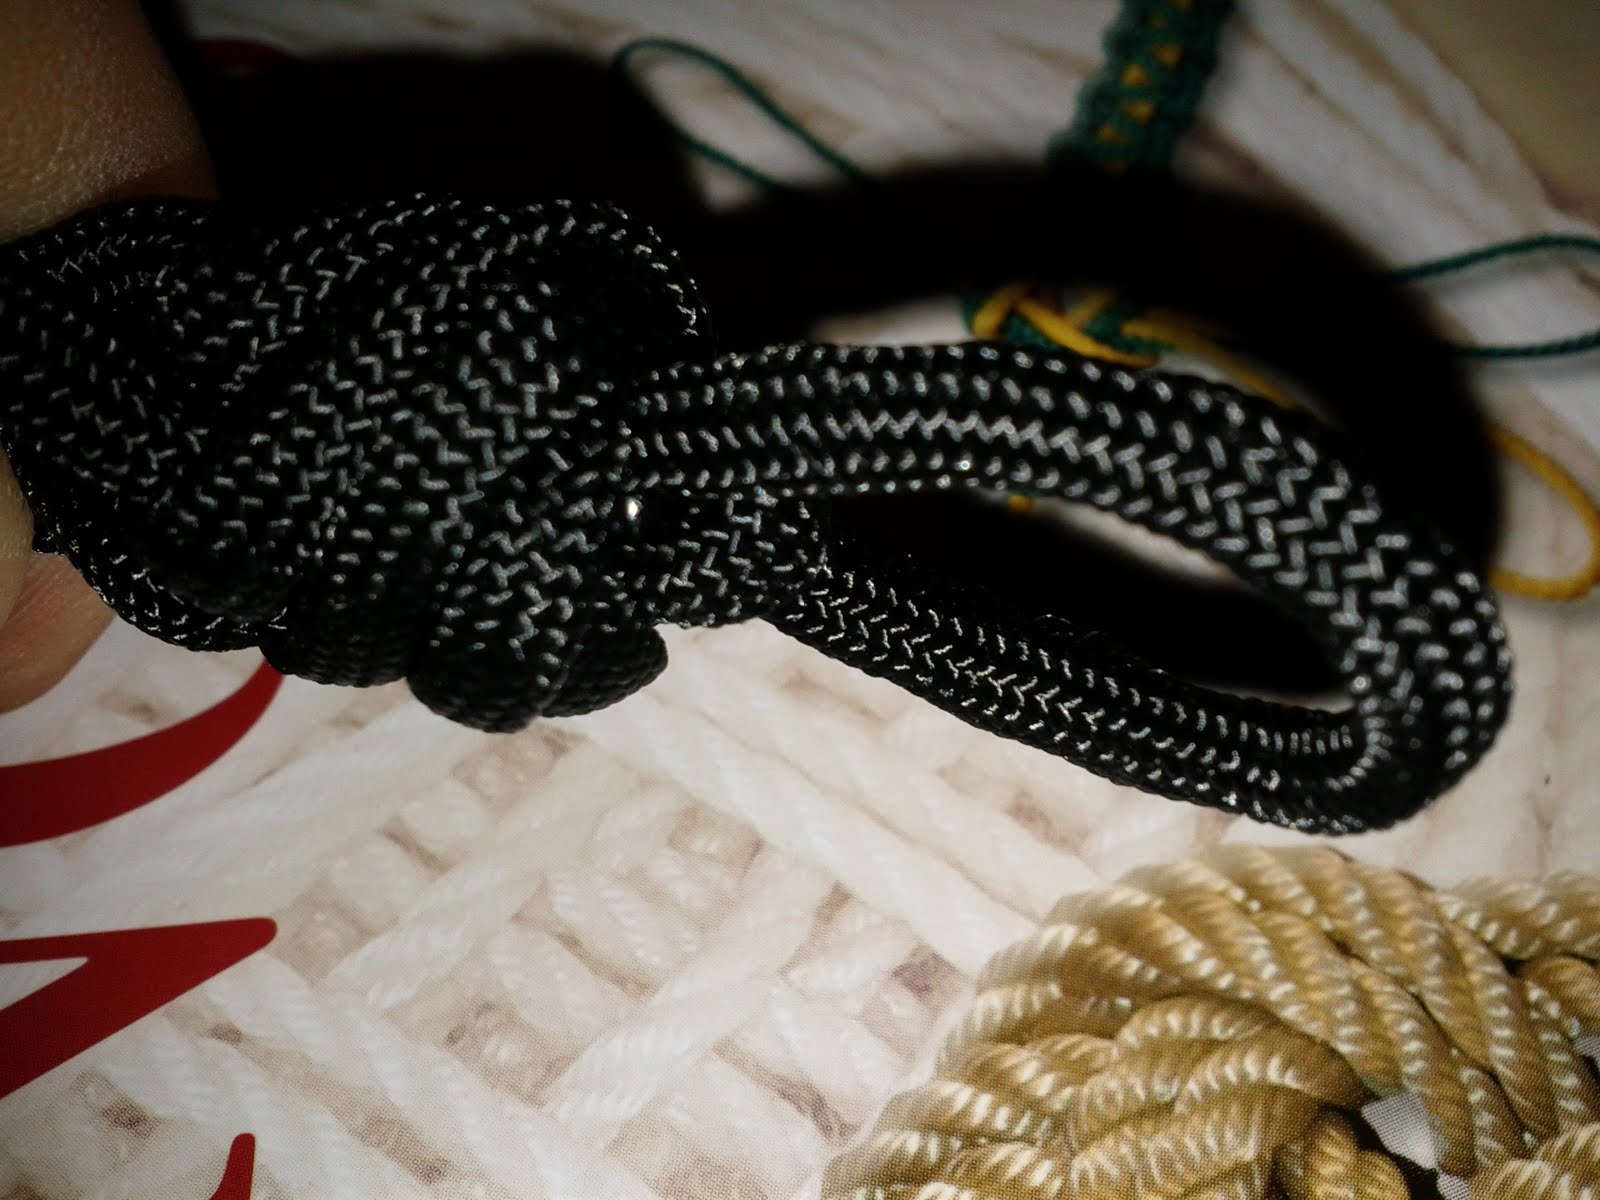
Now I've seen a lot of key fobs on the internet that have used a four strand square crown sinnet. This one is going to be a five strand round two over crown sinnet. Don't be intimidated, if you can do the four strand crown then you can do the five strand two over crown. Instead of over one, you go over two strands. This allows you to more firmly tighten up the strands. And instead of left crown right crown left crown you just do all lefts or all rights and it comes out round. So see? It's the same thing!


Starting with one strand go over two other strands and down. Then take each strand in turn over two strands and down until all strands have been arranged as the above picture. Firmly tighten. Tie three of these two over crowns to form the sinnet.


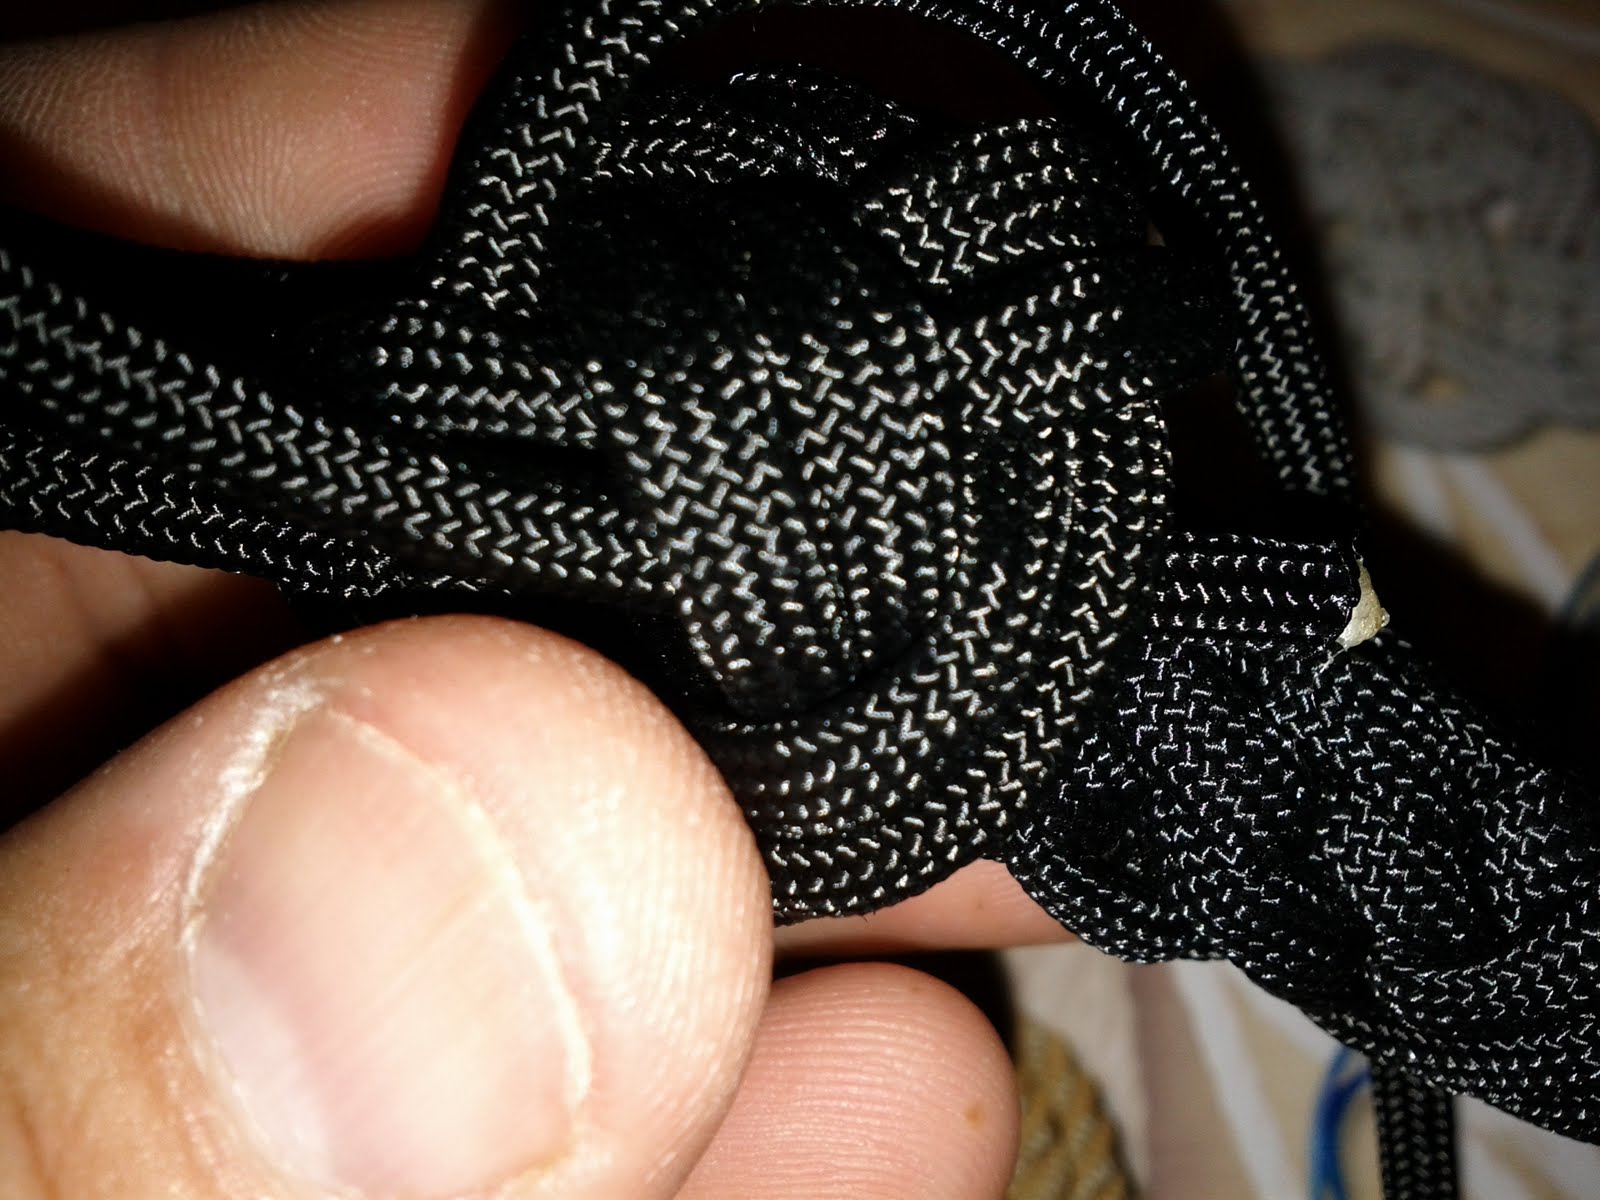
Now we are going to tie a complex wall knot. Don't let the name fool you, it's just like the two over crown. You simply tie a wall knot but instead of going under one you go under two strands.


Once you have this just pull it tight. You could stop here, trim and burn all strands and have a very cool key fob. We are going to keep going though!


Tie two more two over crowns on top of this. This will be the creamy filling to our manrope knot.


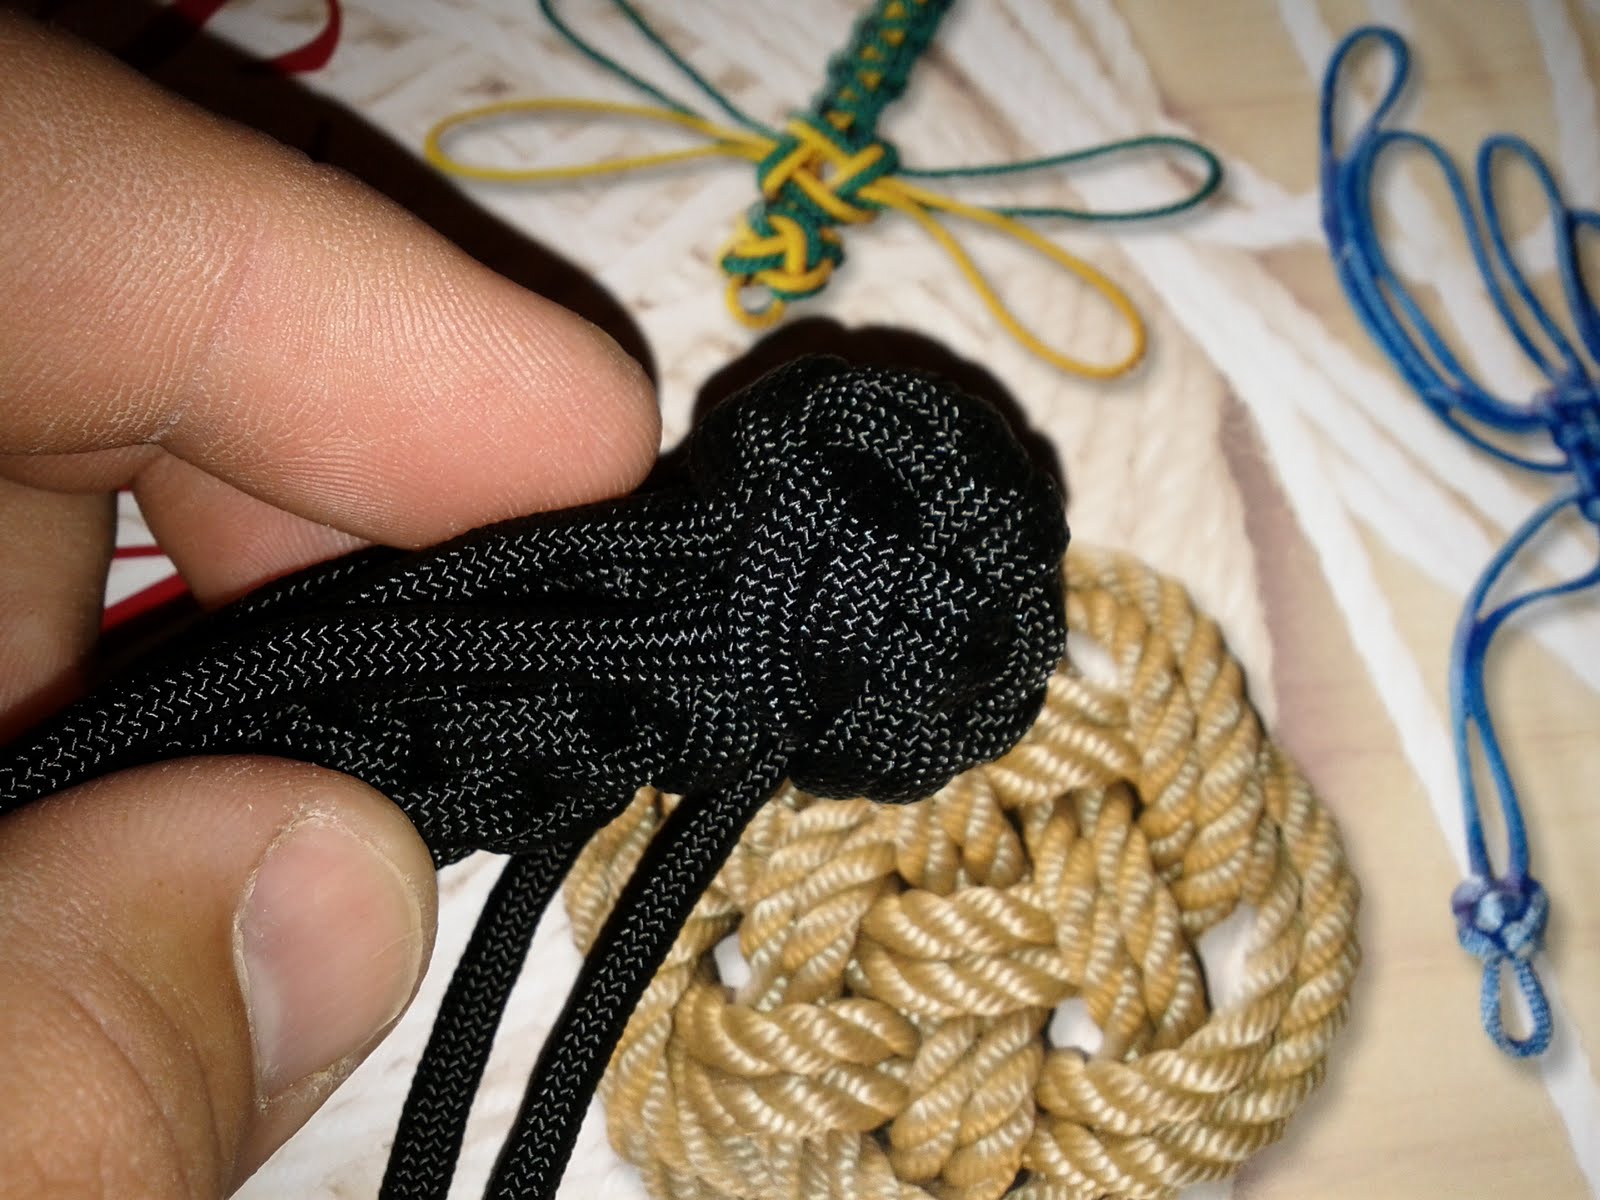
Now that you have the creamy center it's time to work on the knob. It's a manrope knot. I own several knot tying books and several of them have this saying.

First a wall
Then a crown
Follow the lead
Then tuck down

That sums it up pretty good. Tie a wall knot and let it rest above the complex wall. Then tie a crown over that. In mine I tied a five point star crown. I hope you can see by the picture how to lay the strands to make this work out. It may be easier to draw it on some index cards then pull the strands through it and arrange them. There are drawings for this in the Ashley Book Of Knots as well as many more for crowns ranging from two strands to nine strands if I remember correctly.
A wall
Five point star crown

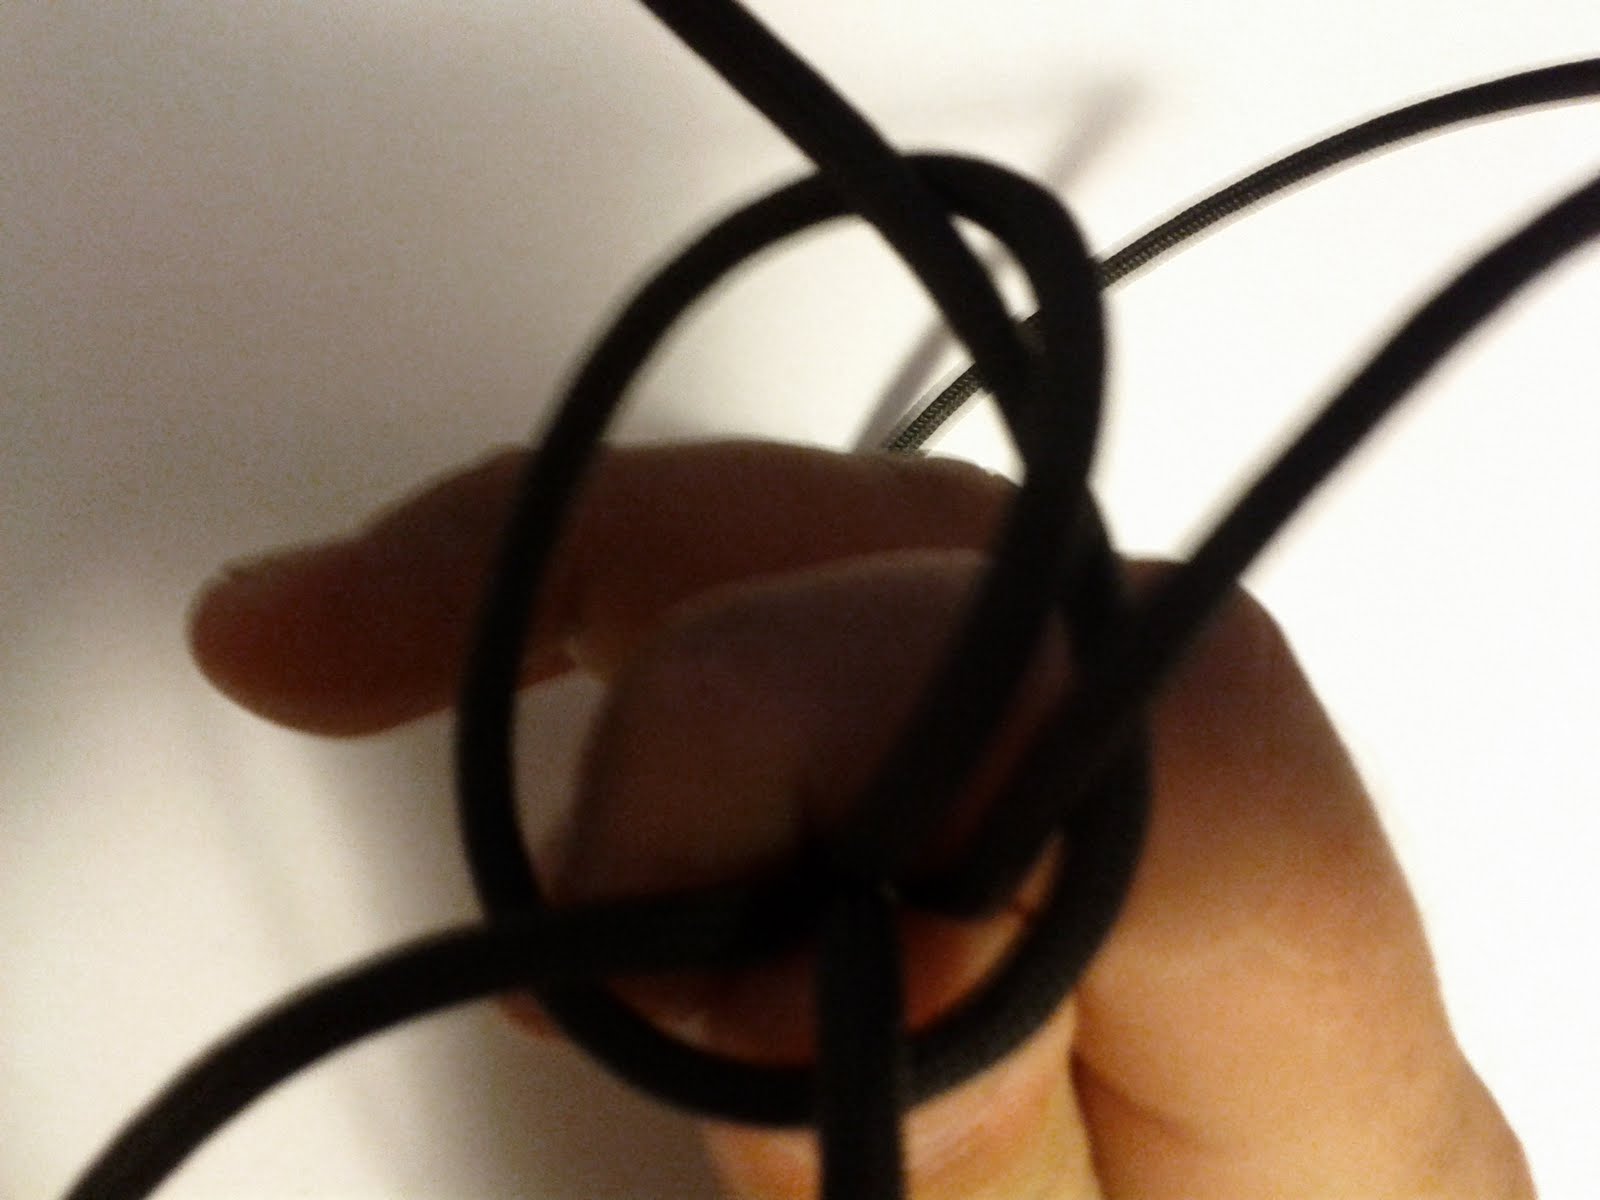
Now comes the doubling the lead part. Just drop the ends down to the left side, right if you tied a counter-clockwise wall, and follow the same wall and crown you just tied. Once you have it doubled, pierce the knot here and open a hole. Some people do this in reverse with a wire loop but I don't have one so I use this. I do have a knitting hook I use to dig into there sometimes if the strand gets trapped under another and I can't pull it out with my dainty little fingers.


Tuck the end down through the hole just as the saying goes.


Once you have each strand tucked in the right place you may wonder what to do next. If it were me I'd start tightening the wall and crown up. Tighten up evenly around the whole thing a little at a time until you get it super firm. I use the spike to dig in and pull out the bights of cord until I'm finished.


Use the X-Acto knife or another VERY sharp knife to cut the strands off really close. Be careful you do not cut into the knot. A fellow knotter, aknotter who does amazing work, showed me a way to do this easily. Pull the strand up and place the blade under it. Hold the blade still and wiggle the strand. The first time I tried this the blade flipped out of my hand it worked so well.

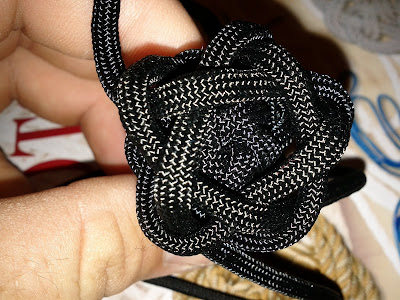
The completed key fob

Above you see some three four five and even a six strand fob. Short ones long ones and a fat one. Some finished and some yet to be finalized. I hope you enjoyed this short tutorial, and have fun making one. If you have any questions or need me to explain a step better feel free to ask.

Friday, July 22, 2011

How To Make A Compass Fob

I'm going to show you how I make the compass fob. You can hang your keys from it, use it as a zipper pull or throw it in your camping bag to keep as a backup. You don't have to use this article as the definite method. If something is too hard or too simple feel free to change it.


First off let's get our supplies. You will need a button compass, glue 8 feet of paracord, a lighter and a pair of scissors. I prefer using scissors rather than a knife because the knife tears through the cord and pulls one strand. I also burn the ends of the strands as I cut them to keep them from fraying.


Cut the cord into three strands and burn the ends. Two strands that are two feet long and one strand that is four feet long.

Middle the two strands that you cut two feet. Make sure your strands form a + if you were to look at them from the top then flip it over. We are going to tie a Double Matthew Walker Knot.


 Sort out your cords.


 Take one strand and bring it under the remaining strands counter-clockwise and back up through itself forming an overhand knot.


Take each remaining strand one at a time going counter-clockwise around and up through the previous knots. Each strand will pass in the first knot.

After each strand has made the turn take the last one and pull it snug. Do not over tighten at this stage.Then take the next to last one and pull it snug. Continue going clockwise around the knot pulling them snug. Once you have gotten them all even and snug take the inside of the knot and pull it up to make your loop on the bottom shorter.


Once pulled tight it makes a handsome knot.


Tie a counter-clockwise crown and pull it tight. Continue counter-clockwise and tie 2 more crowns.


Tie a wall knot and leave it loose for now. The wall looks strikingly similar to the crown knot but note the difference of how the strands exit the knot. In the wall they are exiting though the top, and on the wall the exit the bottom.


Double the lead on the wall knot to tie a double wall and pull it tight. It should be resting under the crown sinnet you tied previously.


 Once you have the Double Wall Knot tight you can trim the ends and burn them.


What you've done in tying the crowns and wall is make a flat spot for the compass to sit.
Admire your work at this point, you're going to cover most of it up in the next few steps and not see it again.


Glue on the button compass and let it dry completely. Don't worry if it's a little messy as long as you don't put glue on the top of the compass you should be okay. Most of this is going to be covered.


While you're waiting for the glue to dry take the remaining paracord and tie a 4Lx5B Turks Head Knot. Double the knot and get it ready to slip over the work you just did.

Carefully tighten up the THK.
Once tight trim and burn the ends and tuck them out of sight inside the THK.


Be sure you take photos and post them in the comments. I love looking at knots too!

Friday, July 15, 2011

Key Fob Fun

This is a key-fob that took me a couple of weekends to build. Not that it was difficult, just that I would start it and finish it up and then take it apart and do it a different way. It was really just practice that turned out pretty.

I wanted a way to add more strands to a loop. I looked through ABOK and found #1063. Looked like a handsome loop knot so I tried it out and was able to work in another strand to give me 4. Then I tried once again and found that I could put 2 strands with the loop knot and make a total of 6 working strands. There are a few crown knots and then a complex wall knot. It's not really complex to make however and tightens firmly unlike the wall knot. I'm in love with the Double Mathew Walker Knot and use it any time I can. A few crown knots were tied to give the knob a foundation. After tightening it up I put on a Multiple Crown knot I found in Stuart Grainger's book Creative Ropecraft and tucking the strands back down the side of the knob.

Here you can see the different knots in the length.

A view of the Multiple Crown knot.

Sunday, July 3, 2011

Geaux Saints!

My wife wanted a bracelet to show off our favorite NFL teams colors. Black and gold New Orleans Saints! We finally decided that the snake knot was perfect. I gutted the cord and started tying. After several knots I made the Mathew Walker in one end for a loop and the lanyard knot in the other for the button. It was a pretty easy project and I had fun doing it.

A Snake Knot Bracelet

Sunday, March 27, 2011

Button Compass Keyfob

There was a question of how to add a compass to a keyfob. Here are two examples of how this works with paracord. One of these was made almost a year ago and it is solid as a rock. The other I had been thinking about for a while and it turned out to look handsome. Enjoy the pictures!

A 3L 5B THK around the compass then a snake knot.

The compass is glued to a wall knot and then covered
with a THK.

View of the covering knot and the always handsome MWK.

Saturday, March 19, 2011

Spring turkey season

The spring turkey season is here and in the February issue of Field and Stream they had a project to build a Gobbler Grabber or Turkey Tote. They had a pretty simple design that I thought could look more appealing. I had decided that having the cord dig into the shoulder wouldn't cut it. I had to make it wide so that it would carry that big bird more comfortably. The ladder rack knot fit this situation perfectly. It's not a fast knot to tie, and was the most time consuming part of the project. Of course you can't tie something like this without putting in a few more fancy knots. We have a lanyard knot for the loop. Under the ladder rack knot we have ABOK #778. Under the antler we have a 2 strand Mathew Walker knot. The antler was a shed from a white tail deer. I cut it with the cut off wheel on my dremel. I've used a hacksaw before and it worked okay but it took some time. I made sure there were no sharp edges on the antler by using the sanding wheel. I drilled a pilot hole then used a larger bit so that two strands could fit through with a little bit of difficulty.


Tom Caddy